Skip to content
I Crashed The Web
Search
Home
About
Cleveland
Running
Baking
Cooking
Traveling
Category:
Recipes
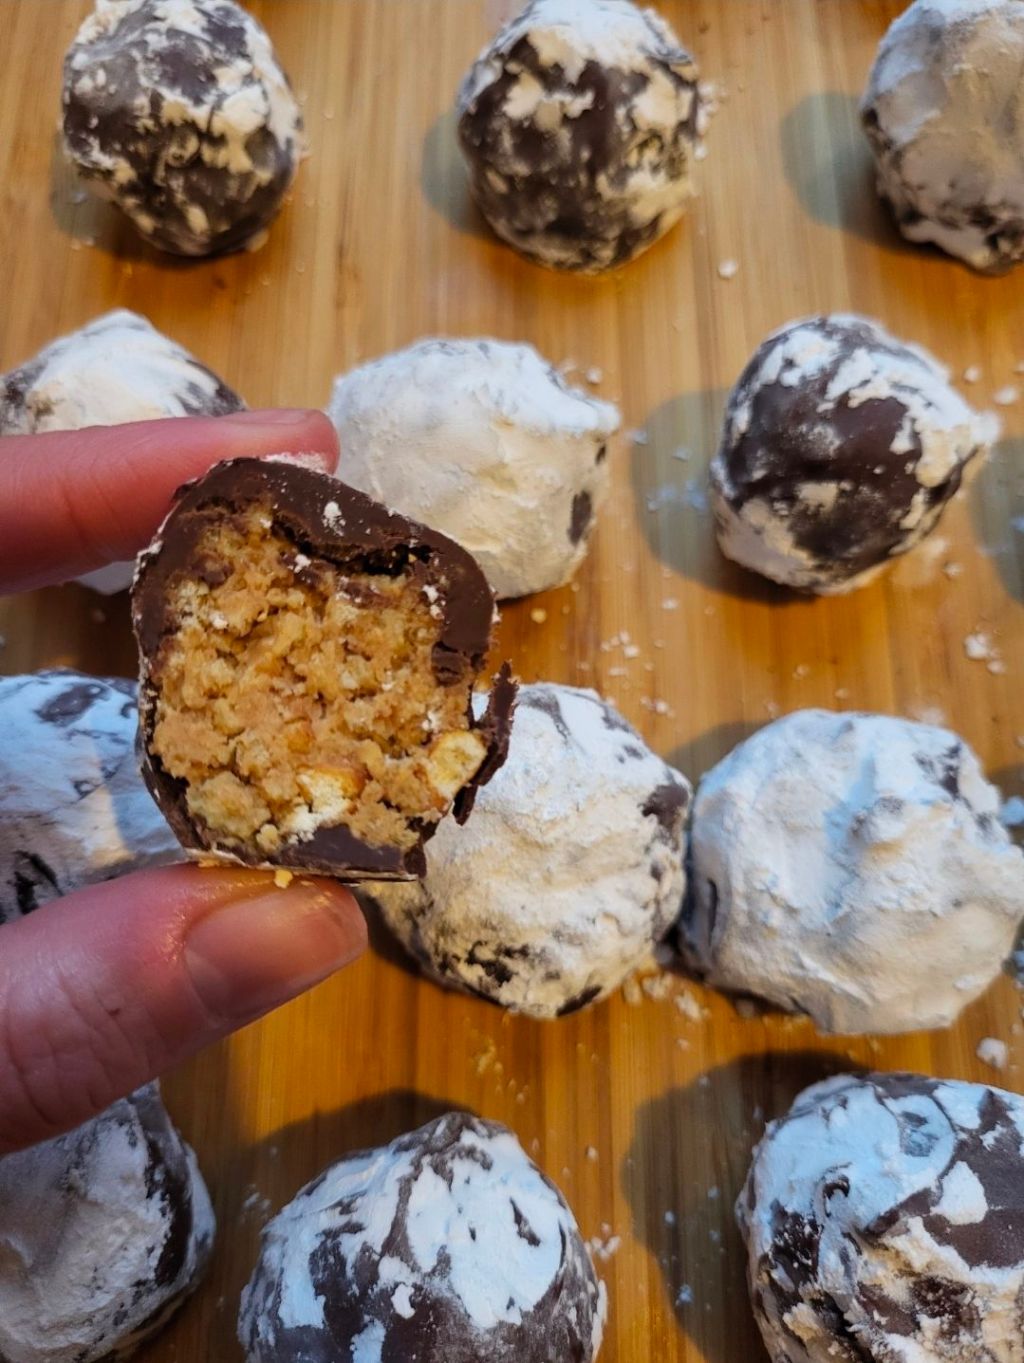
Puppy Chow Truffles
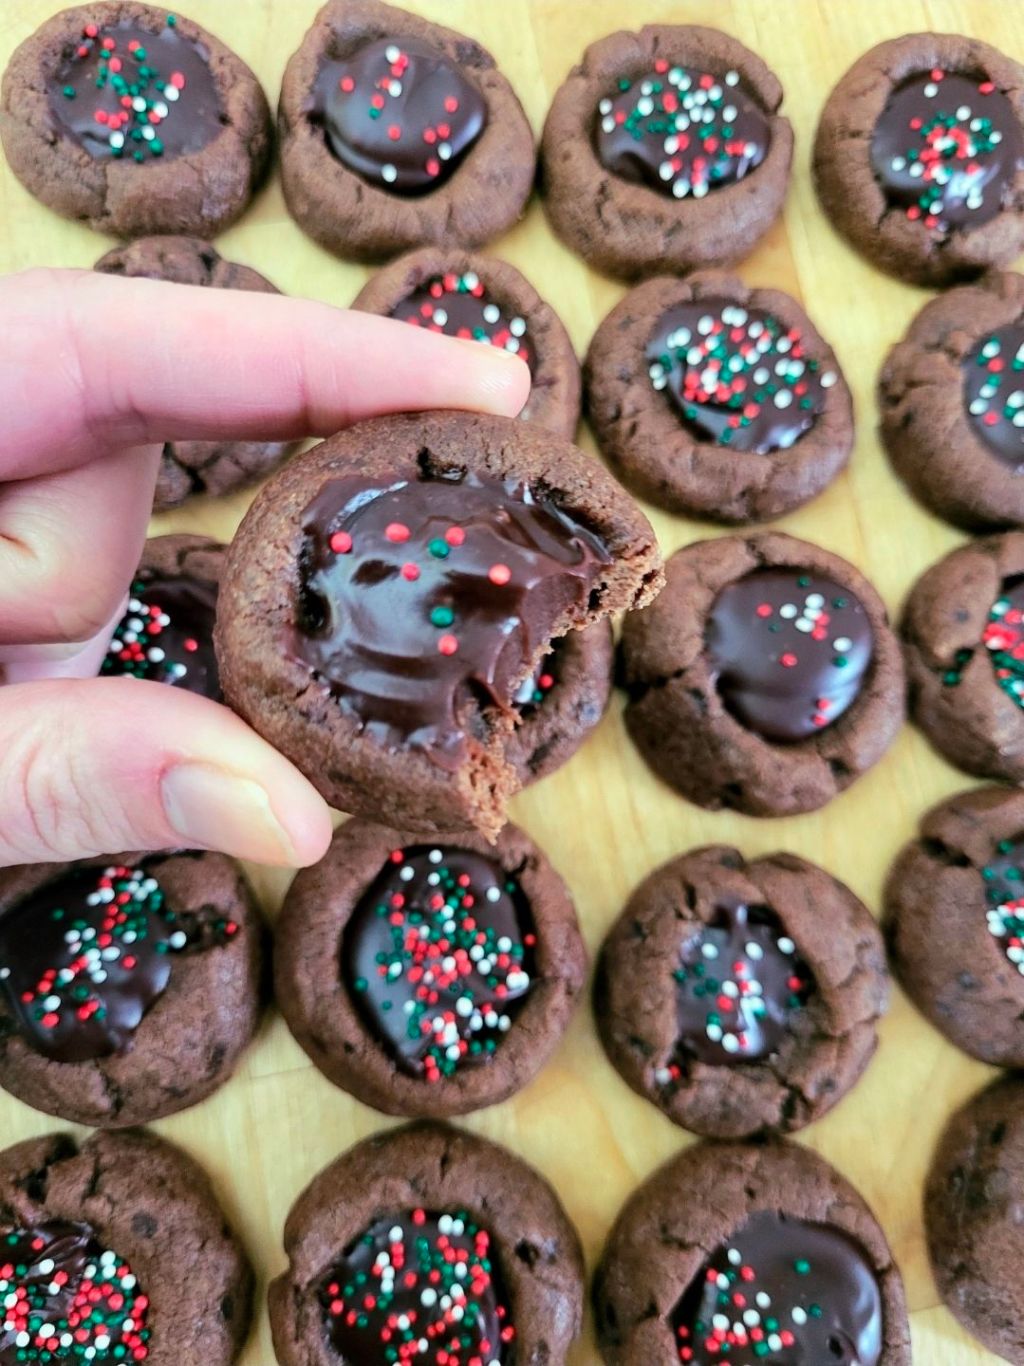
Chocolate Thumbprint Cookies with Chocolate Ganache
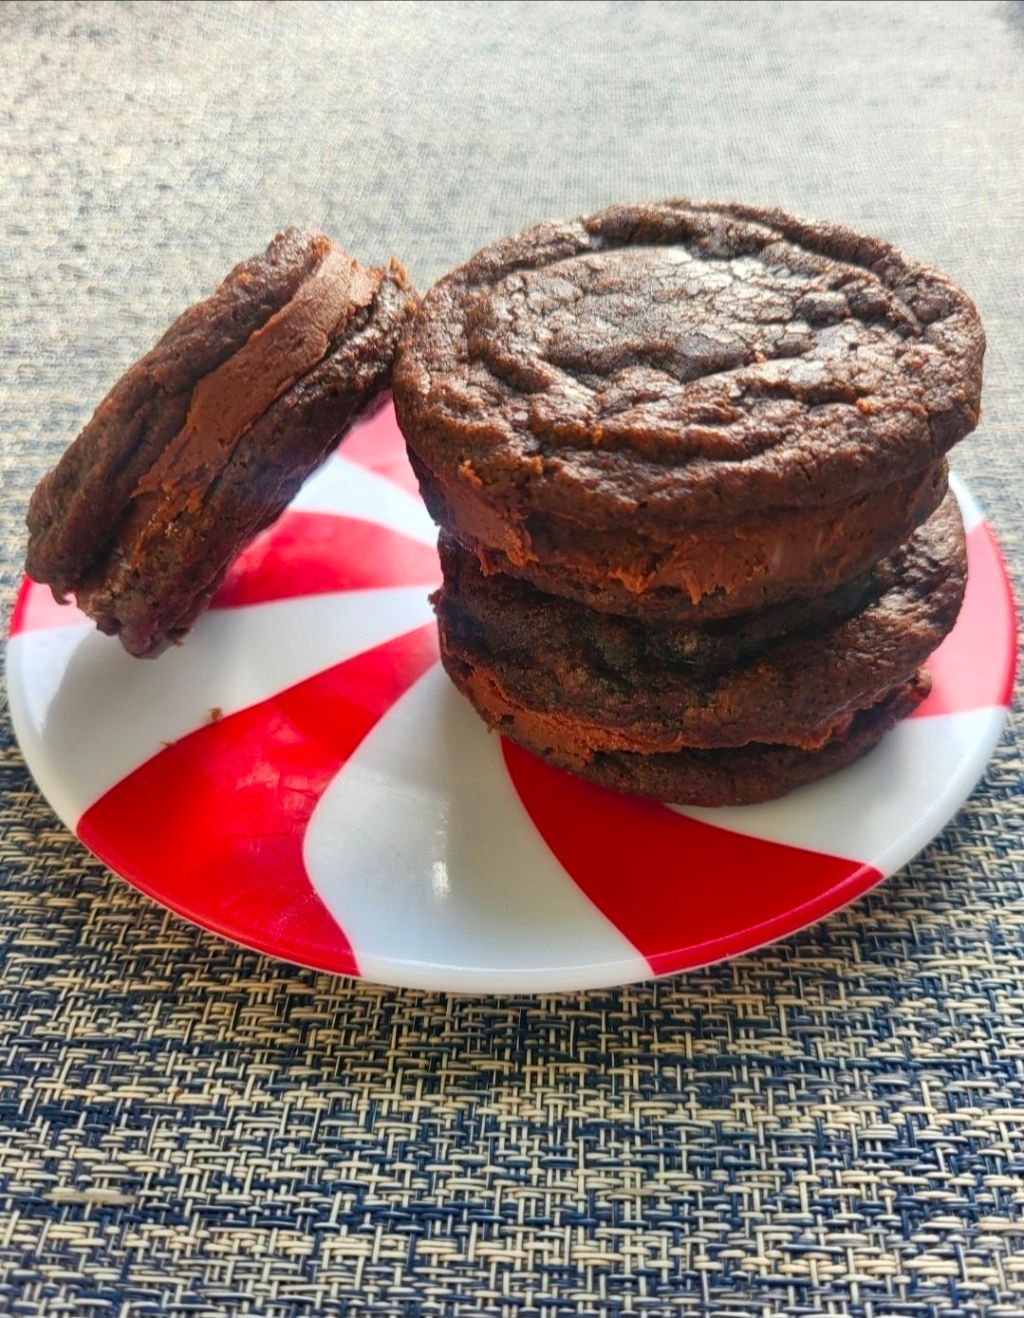
Chocolate Brownie Sandwich Cookies
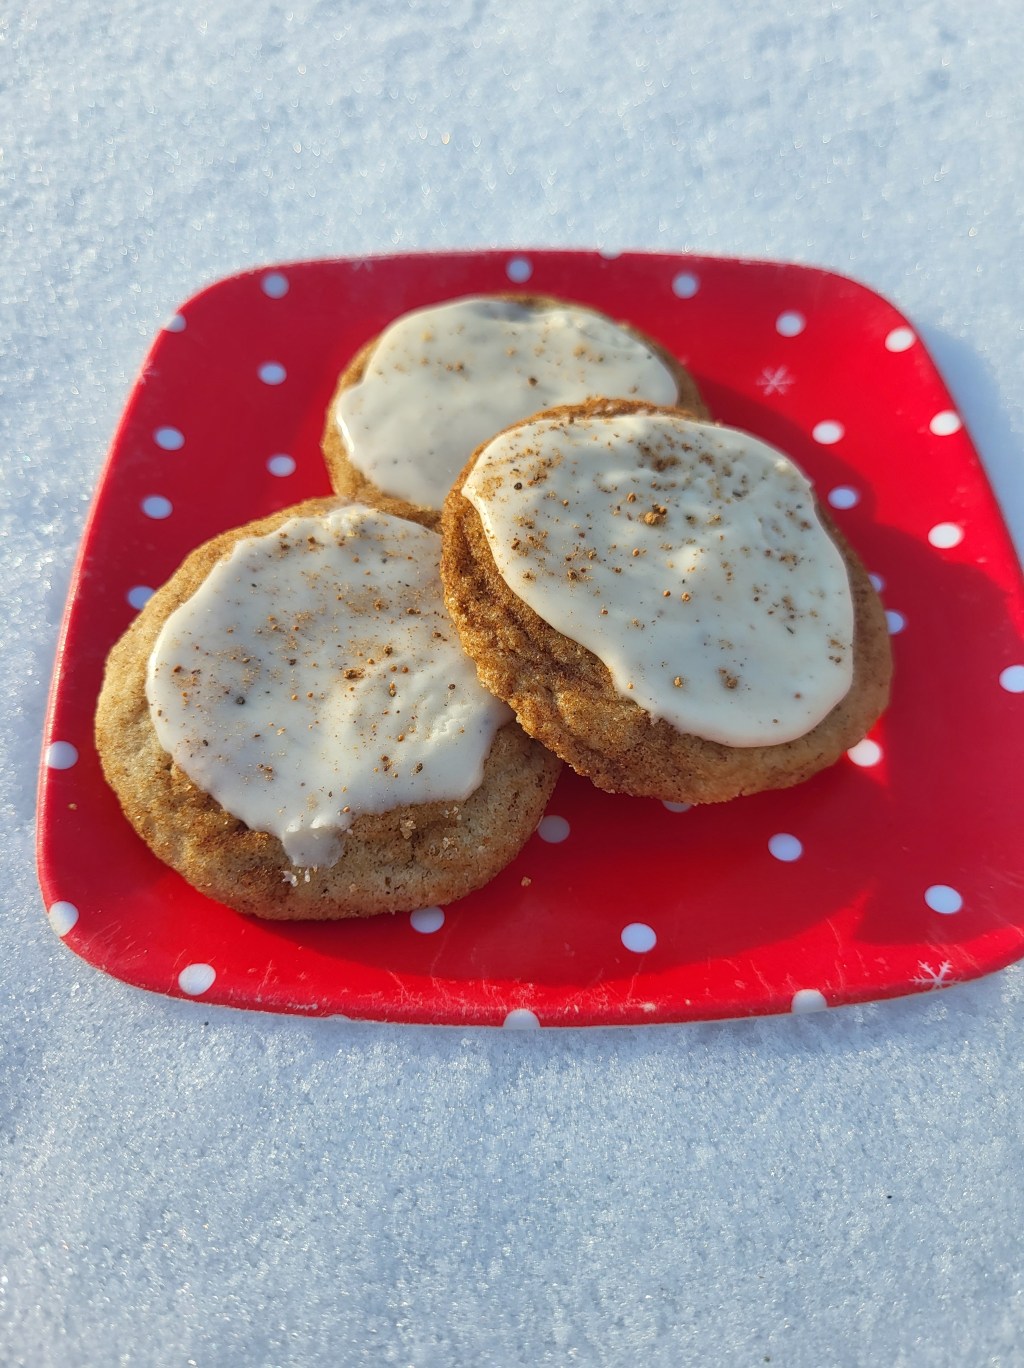
Taylor Swift’s Chai Cookies – Updated!
Peach Yogurt Muffins
Mini Banana Muffins
Inside Out Chocolate Chip Cookies
I Made Taylor Swift’s Chai Cookies
White Chocolate Pumpkin Pretzels
Apple Crumb Muffins
Next Page
Subscribe
Subscribed
I Crashed The Web
Join 899 other subscribers
Sign me up
Already have a WordPress.com account?
Log in now.
I Crashed The Web
Subscribe
Subscribed
Sign up
Log in
Report this content
View site in Reader
Manage subscriptions
Collapse this bar